Choosing and Maintaining your Lifejacket / PFD
Your Life Jacket Care and Instructions Guide for the Life Jackets, PFD’s and Jet Ski / Boating Accessories we sell online and in store. PFD is an acronym for Personal Floatation Device. A lifejacket is just an older term for the same thing. However there are many types of lifejackets intended to be used for different reasons. PFD’s have different levels of floatation, with the numbers intended to give an indication of how long they will keep you afloat. The below table for a reference is from AS4758.1 2022. There is printed information on the inside of your Sea Crew life jacket. Additionally whenever you need more information, you can always check beck here for more information about life jacket care and instructions.

A PFD level 50 or 50S is the PDF suitable for wearing on a jet ski. A level PFD 50S can be worn in smooth waters, and a PFD 50 can be worn in Partially Smooth or beyond which means into the ocean. While riding your jet ski, you must always be wearing your PFD, including launching from the trailer to the beach.
For an example, in the below image showing Moreton Bay in Qld, you could wear a level 50S lifejacket in the blue shaded area. You could wear a level 50 lifejacket in the blue, orange and the yellow shaded area. See link here to Qld Maritime for maps on the different waters in QLD.
A PFD 50 is only intended to keep you afloat if you fall off your ski, long enough for you to get back onboard, or for somebody to give you assistance. It is not intended to keep you afloat for many hours, and does not offer support to keep your head afloat.
PFD for Boating
There are a lot of choices for boating PFD’s. If you are only going to be in Smooth Waters, you can use the same 50 or 50S jacket described above for jet ski’s. Level 50 jacket is also suitable for tubing or skiing in smooth waters. You can also use a level 100, or 150 in smooth / partially smooth waters. When venturing outside of partially smooth waters, and into open ocean, level 100 or 150 is the minimum requirement. These can be inflatable or not. Self activating inflation or automatic activation for inflation.
For an example, in the below image showing Moreton Bay in Qld, you could wear a level 50S lifejacket in the blue shaded area. You could wear a level 50 lifejacket in the blue, and orange shaded area. You would need a minimum of level 100 PFD in the yellow shaded area in sight of land, and a level 150 PFD for the yellow shaded area. See link here to Qld Maritime for maps on the different waters in QLD.

Caring for your PFD
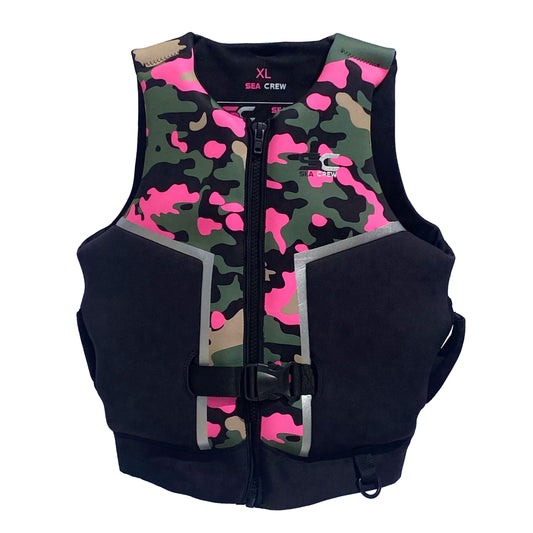
One of the most important things is to check your life jacket is the correct size. Check our size charts and fitting instructions here. There are some things that lifejackets do not like. Your lifejacket is an important piece of safety equipment, that needs to be worn and in good condition to work for you in an emergency.
Lifejackets do not like being left out in the sun. Particularly neoprene life jackets. The sun prematurely damages the outer material of lifejackets. It is best to wash them with clean fresh water, and hang them to dry in the shade. When clean and dry put them away for another day.
They foam inside lifejackets does not like being squashed and crushed. Squashing the foam can damage the outer lining and the foam, so do not use your PFD as a cushion, or leave it stored under anything. Same goes for inflatable life jackets, the bladder inside the jacket can be damaged by crushing, and should be stored with care to not damage the bladder.
Zippers and clips should be rinsed each time they are used. The zippers can be lubricated with a zipper lube (same as used for wetsuits and dive equipment), and the plastic clips just ensure they are not broken, cracked or split. Being plastic, the clips and zips can be damaged by heavy items, so store your PFD carefully in a safe place.
Carry out regular checks on your PFD each time before using it, as below. Certainly contact us if you have any concerns, and you can always come back here and check the Life Jacket Care and Instructions Guide for more information.
Carrying out a Pre Wear Check
Before putting on your PFD, you should carry out a pre wear check, to ensure everything is working properly, and it fits properly.
Inspect your PFD for any damage, including stitching, buckles, straps and if fitted the retroreflective tape.
If it is damaged in any way, check with your store or manufacturer.
If your PFD is an inflatable type, you should also check the following –
- Visual inspection for damage, including bladder and oral inflation tube.
- CO2 cylinder is undamaged and properly secured (e.g. hand tightened).
- Auto cartridge is hand tight and not expired (where fitted).
- Indicator(s) show green (ready).
- Manual operation cord is accessible when worn.
When you first purchase your lifejacket, you should carry out the above checks, and then try the lifejacket in the water in a suitable controlled environment. This could be a swimming pool or protected beach, where you can try the floatation and fit of your jacket in the water. Your lifejacket should be firm but comfortable, not restrict your breathing, and not rise up too high on your body. Your head should be where you are able to comfortably float above the water and breath normally. To test an inflatable lifejacket, you will need to orally inflate the jacket, don’t activate the cylinder to test the buoyancy.
Servicing your PFD
For a neoprene and other foam filled PFD’s, ensuring it is in good working order and fits properly each time you use it, is all you need to do. Do this each time before you put it on, checking the PFD visually is in good condition with no rips or tears and the clips, zips and buckles work properly.
For inflatable PFD’s
A visual inspection should be carried out before use, to ensure the PFD is in good condition, and fits properly. Annually you must check the PFD is serviceable and the inflation system works properly.
Step 1. Inspect the following:
- Bladder for signs of abrasion and wear.
- Reflective tape is intact and not peeling off.
- Harness stitching, webbing and buckles for signs of excessive wear or abrasion.
- Valise (cover) intact, closure system operational.
- Inflator mechanism for signs of damage.
- Oral tube for signs of damage.
- CO2 cylinder for corrosion or damage.
Step 2: Functional test – Inspect your PFD for leaks
- Inflate the jacket using the oral inflation tube, and leave inflated overnight in a room with constant temperature (a change in temperature can affect the volume of the air in the jacket).
- Check the jacket in the morning to ensure it has held pressure, it should be firm and still full of air. If not, contact the manufacturer to return for service.
- Deflate the PFD using the cap attached to the oral inflation tube. Depress in the bladder to deflate it.
- Remove and check the CO2 canister. Make sure there is no rust or corrosion on the canister. Using a set of kitchen scales, ensure that the CO2 canister is the correct weight. The weight should be marked on the canister, and a variance of + or – 2grams is allowable. If the CO2 canister has been pierced, rusted, corroded or is not within the tolerances for weight, it must be replaced.
Step 3: Manual Firing Mechanism Test
Inflatable lifejackets use an active indicator system that requires no clips or other break away type indicators. Inspect the firing mechanism for damage or corrosion. The cylinder is not to be installed for this inspection. If the firing mechanism does not operate smoothly or there is some damage, contact manufacturer.
Step 4: Automatic Firing Mechanism Test
For automatic jackets only, not for Manual Inflation lifejackets. If the indicator is red, appears damaged, or is out of date, it needs to be replaced – contact the manufacturer.
Step 5: CO2 Cylinder inspection.
- Take the cylinder that was removed in step 1, and check the end is not pierced.
- Take note of the gross weight marked on the cylinder.
- Use a set of kitchen scales, accurate to 1 gram, and record the weight of the cylinder.
- The cylinder should be within 2 grams of the gross weight marked on the cylinder.
- If the cylinder passes all the above tests, refit the canister tightening by hand only, do not over tighten.
Step 6: Record the inspection. Mark the lifejacket as follows:
- Mark the service grid of the lifejacket with SI (Self Inspection) and the date (MMYY), e.g. SI0421.
- For service agents, mark the service grid of the lifejacket with the date (MMYY), e.g. 0421.
Step 7: Repacking the Inflatable Lifejacket
- Ensure the lifejacket is re-armed according to the instructions and all firing indicators are green.
- Deflate the lifejacket by reversing the oral tube cap and pushing into the end of the oral tube.
- Expel all air by tightly rolling up the bladder. Repeat the procedure at least once to ensure all air is expelled. Replace cap in its normal position.
- Ensure the lifejacket is clean and completely dry.
- Lay bladder and cover on a flat surface, smooth out the bladder to remove all wrinkles.
- Fold sides of bladder under and engage closure system at sides ensuring the pull cord is exposed once closed.